There are many flight tracking services around the web and most of them are based on ADS-B receivers placed by individuals. Few months ago I put together simple GP antenna, RTL-SDR and installed Pi-Aware software. It fed data to FlightAware. Soon after one of my mod-school friends asked if I could do the same for FLightRadar24. After some search I found this github repo: Balena ADS-B Multi-Service Flight Tracker. I had good experience with balena (for LoRa gateways) and followed the really excellent step-by-step instructons. Below are some details about my installation of this Multi-Service Flight Tracker.
The plane tracker is now feeding online (with short outages) since August 2019.
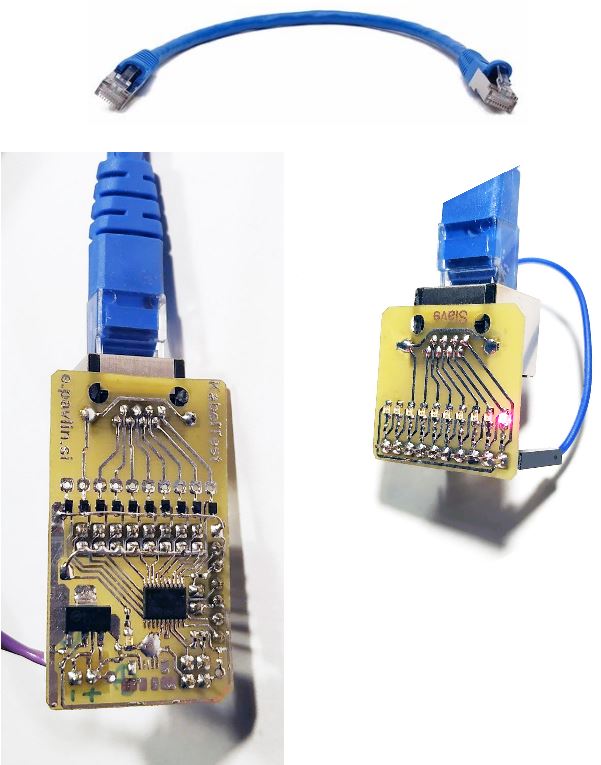
This is simple cable testing tool for checking your cables (e.g. ethernet patch cables or house installation). Complete tester consists of two modules and tested cable. Master (left) module is on the left. It is connected to the power supply (battery or wall adapter). Slave (right) is passive and has only LEDs.
I recently found interesting project https://www.telraam.net/ It’s an open source project where a Raspberry Pi with camera counts traffic passing by (pedestrians, bicycles, cars and other heavy vehicles). The device is (as stated by authorts) “mounted on the inside of an upper-floor window with a view over the street. To send the traffic count data straight to the central database, the device needs a continuous Wi-Fi connection to the internet.” I placed one in my home on the window and it started counting some day after installation.
Next I wanted to install one in my remote location, where I have internet for other IoT purposes. There is no “upper-floor window”, which means I should place my raspberry and camera outside. Here is how I did it…
I bought used outdoor WiFi access point for couple of coffees. At first I wanted to use only the housing for conversion of the TTN Indoor gateway to outdoor gateway. But after some testing and factory reset of the AP I found out it is working and could be configured as stand-alone WiFi MIMO AP. Usually such APs require infrastructure, or at least some management server.
This is short tutorial how to send data from sensor connected to The Things Network via LoRaWAN to Weather Underground. I will use Scidrom air quality sensor whic I developed for students in local school. Just a quick reminder the “AQ” sensor detects PM10, PM2,5 particles, air pressure, temperature and humidity and solar radiation in visible in UV spectrum. More details are available in older post.
“Special offer” came out for 5GHz antenna. It was posted on Polish web store Interprojekt, where I sometimes buy some equipment for long range WiFi point-to-point links.
Gold WiFi grid antenna, price 13 EUR
The antenna came well packed in carton with additional box for the feed. The grids were separated with paper to avoid scratches during transport.
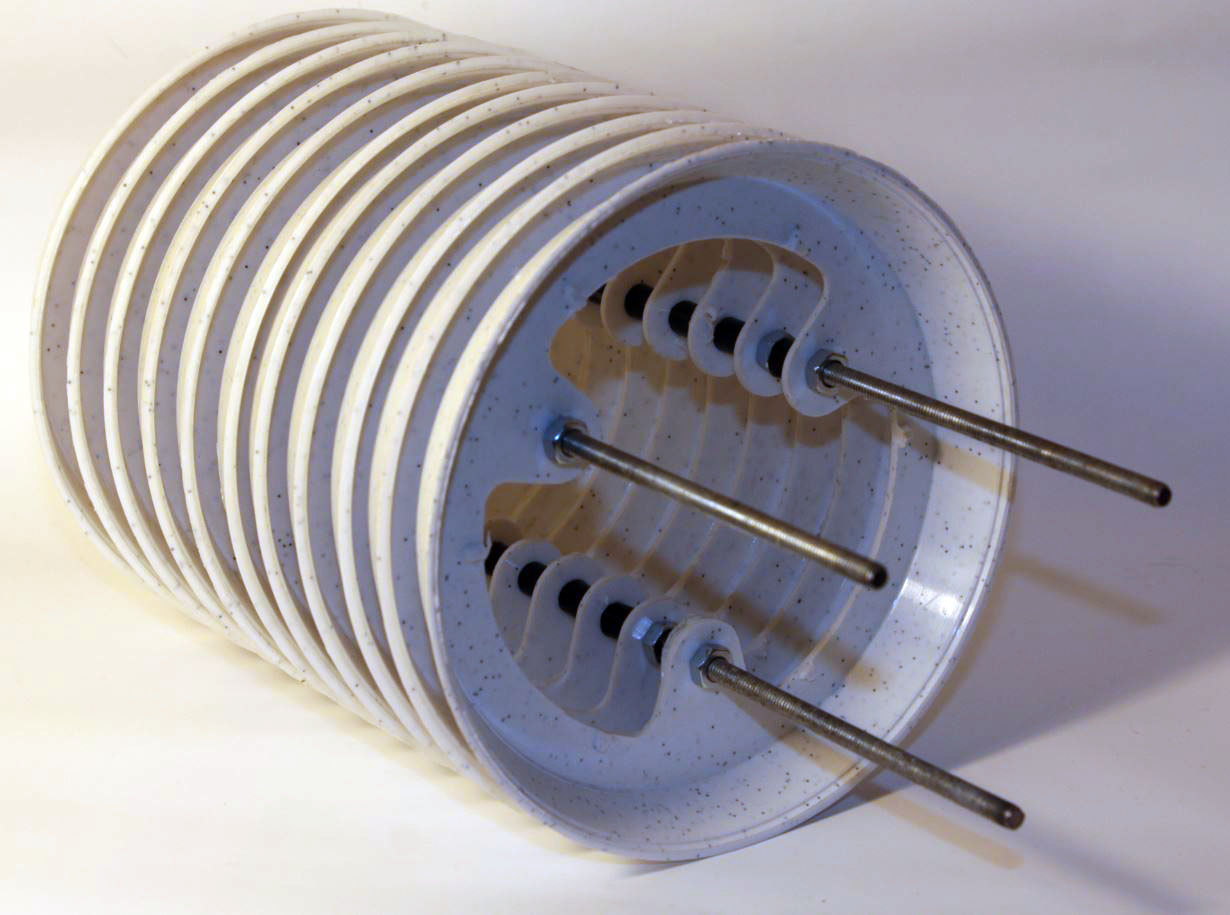
The solar radiation shield is a low cost DIY device to protect temperature, relative humidity and other sensors from the weather, while shielding them from the sun for highest accuracy. Provided here are instructions and files. It require some CNC machinig, but then it could be assembled in minutes. It is made from plant pot saucers.
A multisensor LoRa end device has been designed for connecting different sensors to LoRa network. It’s primary use can be LoRa weather station but is not limited only to enviromental applications.
LoRa sensor interface – typical application
Typical “weather” application is shown in image above: 1-LoRa sensor interface, 2-Particle sensor, 3-Sun shield with temperature and humidity sensors, 4-UV-index and illumination sensor, 5-solar panel for autonomous operation. Different sensors will be described separately. I hope this project could grow into different directions.
Amazfit pace went swimming and drowned 🙂 After unsuccessful warranty claim I put watch in the drawer and forget about it because it looks “unopenable”. Today I learned it could be opened easily when heated. So I decided to try it. I grabbed hot air gun and shot few blows into the housing heating up to 80°C. It is just below 85°C, which could be a limit for some electronic components.
The proper tool to open the smart watch
The disasembly was piece of cake. Just separate the two pieces.