10.07.2014, 20:49 by Mare
Keil development tools are excellent and they surprise with new toys with every new release. With version 5 they started with “packs”. I was confused with this new concept and without any training it took me a while to adapt new approach. Now, after a while and after reading few manuals I can only say it’s fantastic. Preparing new application is a breeze. What I was missing is step-by-step tutorial for newcomers to the “packs”. I would like to present step-by-step tutorial for simple application.
We will start with STM32F4 Discovery board, a low cost nice development board with some interesting periphery. First example will be simple “blinky” with blinking blue LED.
Continue reading ‘STM32F4 discovery – Keil example step-by-step’ »
18.06.2014, 22:23 by Mare
This is part II for 4 element 6m yagi. Part I is about metal parts. Here is some brief description about electrical connection and preliminary test.
4. Antenna feed
To finish the antenna few parts must be 3D printed (or produced with other materials, like plastic pipes). Holder for air coil consists of three parts: coil holder, coil support and connector holder.
Coil holder is simple cylinder (pdf drawing: chokeholder), which is long enough to accommodate 12 turns of RG58 or similar cable:

Continue reading ‘4 element Yagi for 6m, part II’ »
16.06.2014, 23:42 by Mare
After successful installation of “bare” virtual com port it’s now time to add something useful to the communication. This example is based on tutorial projects :
If you followed first three parts, then it’s time to continue here. If not, I suggest you do to gain proper background and learn about creating virtual COM port application.
Continue reading ‘STM32F4 Discovery virtual com port – part III – COmmand line interpreter’ »
Category:
MCU,
STM32F4 |
Comments Off on STM32F4 Discovery virtual com port – part III – COmmand line interpreter
16.06.2014, 23:29 by Mare
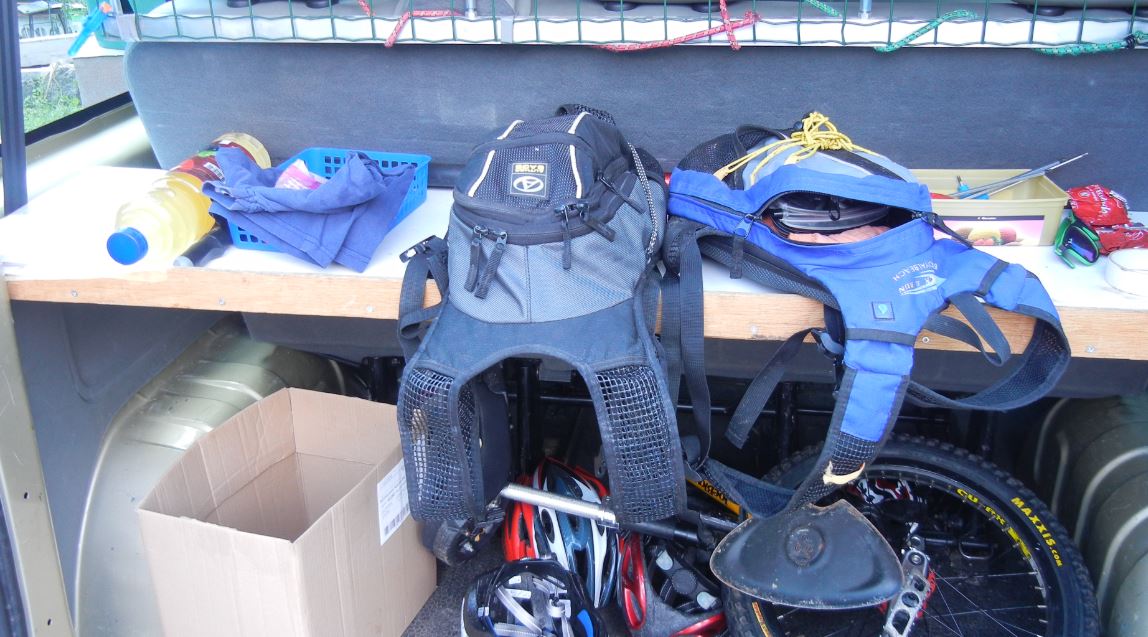
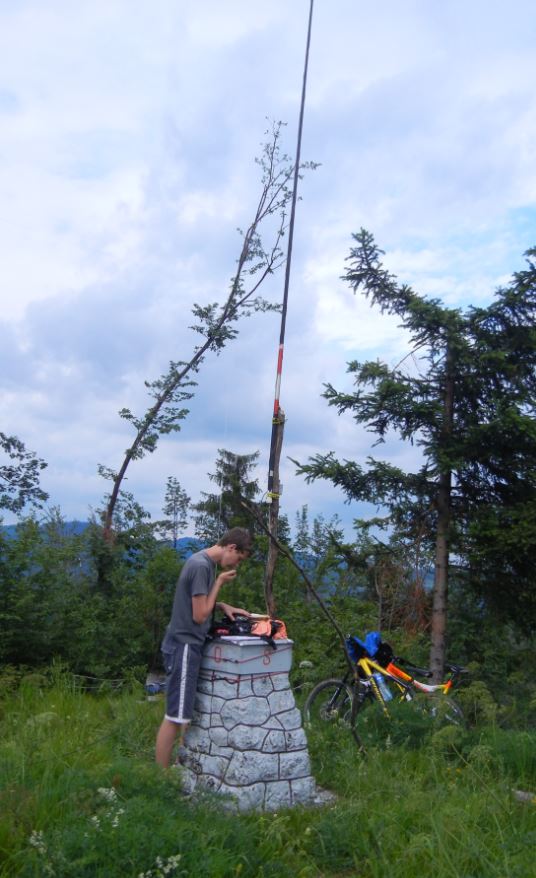
S57GP and S54MTB rode mountainbikes (MTB) to local SOTA summit. The expectations were low, because it was our first contact with SOTA activation. We started in Idrija with two small rucksacks with HAM equipment, two bottles and two bikes.


Our destination was Kobalove planine (Mount Kobalove) with SOTA reference S5/TK-026. The summit is nicely visible from Idrija. We took the road through Idrija centre. The road turns right and uphill just in front of old elementary school. After few km we reached the tourist farm with some cows and beautiful views. The weather was excellent.
Continue reading ‘First field experience’ »
Category:
Ham,
SOTA |
Comments Off on First field experience
16.06.2014, 22:32 by Mare
6m band is sometimes called “magic band”. It has combined propagation properties of HF and VHF. When conditions are good, very long DXs are possible. Beside the sporadic E occurence some other requirements are essential. One of the most important pieces of equipment is good antenna. There is no shortcut for good performance in small package. Good antenna is big when lambda is long. For 6 meters, the antenna usually occupies about 3x3m floor area. Here’s my implementation based on Ljubisa Popa – POP YU7EF design EF0604S.
 Continue reading ‘4 element Yagi for 6m’ »
16.06.2014, 10:35 by Mare
Me and my son recently got HAM licence. No, it’s not about meat from pigs, but amateur radio. Our call signs are S54MTB and S57GP.
We started with small QRP (low power) rig Yaesu FT817 ND and homebrew antennas.
If you are interested in radio-amateur (HAM) related topics, please follow the “Ham” section.


Category:
Ham |
Comments Off on Ham licence
15.12.2013, 21:47 by Mare
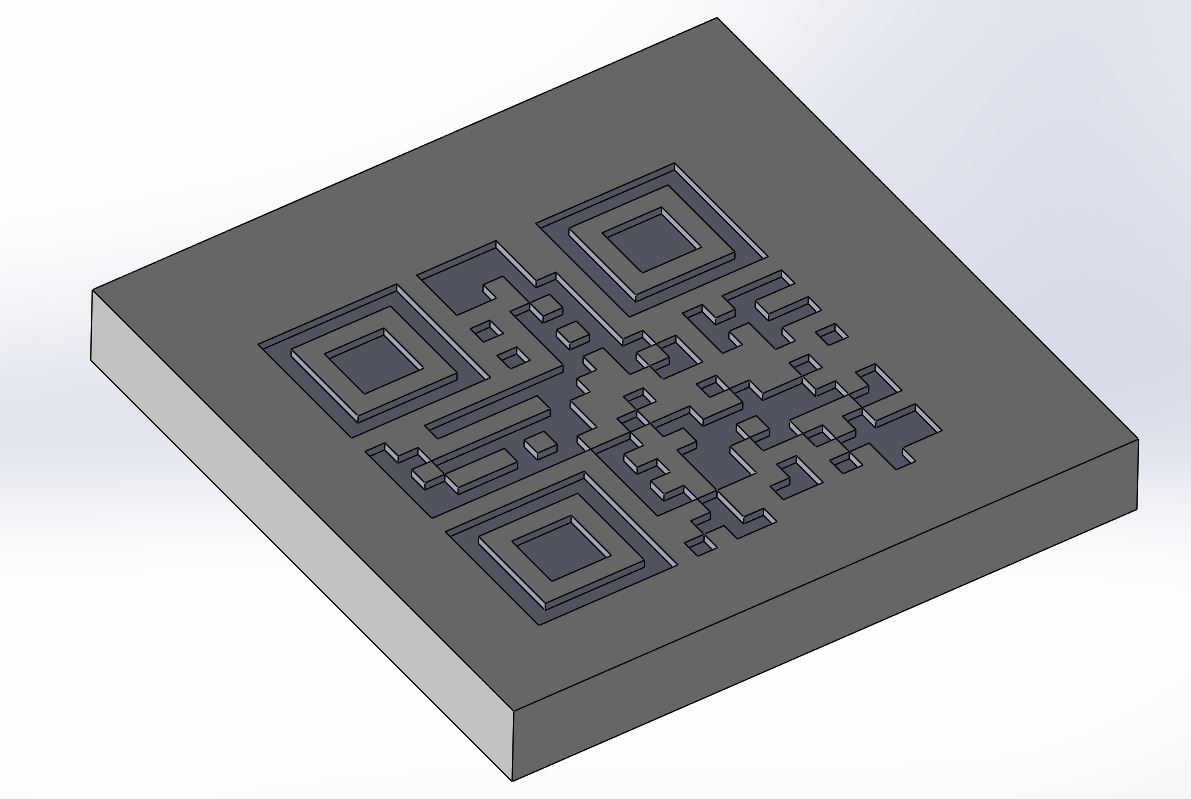
I was looking for easy way to get QR code in 3D model within solidworks. Here’s one recipe hot to do it.


Continue reading ‘QR Code in solidworks’ »
31.03.2013, 10:52 by Mare
Original eggbot is made around construction components, which are hard to find in metric world, like Europe. I found some DXF files for cuting the side walls, but after first prototype I realised no brackets could fit in the holes. First I adjusted the holes a bit, but the result was not successfull. Then I prepared 3D design in solidworks using standard elements from local hardware store. Here is the complete 3D design (click on the rendered model):

Continue reading ‘Eggbot – Metric’ »
01.03.2013, 23:57 by Mare
Energy micro has wonderful demo/proto boards. But sometimes it is more useful to have bare module without any periphery. Jut fan-out-ed pins, power supply and oscillator. Pins should be 100mils raster in order to stick the module inside other protoboards.
Presented protoboard is the one, which fits in above requirements.

Assembled EFM32G880 board
Continue reading ‘Prototyping board for energy micro EFM32G880’ »
16.07.2012, 18:06 by Mare
My Archos 10.1 died. The death was not sudden. At first, the charging was slower, after a while I noticed “blink blink problem“. After few days the tablet turned int a brick. I realised it was the time for some action…
Opening Archos 10.1 is fairly simple. There are 6 small torx srews and dozen of plastic clips around the case holding both sides together. To separate plastic parts use your nails or similar “material”, which is softer than plastics to avoid scratches. There is plastic lid covering all side connectors. Camera is within rubber holder and MIC has one rubber cover. Remove all tiny parts into safe place.
 Two flex capton foils connects LCD side with periphery. Wider has dual row connector and narrower, 4 pin ribbon (probably the touch controller) has small connector. Remove orange adhesive tapes and pull the wider ribb on out from the board. Open the small connector (black part up!) and pull out the ribbon. Now warm up your soldering iron and unsolder the battery from the circuit (red B+ wire) to avoid “escaping smoke” effects. Isolate the red wire with some isolation! Continue reading ‘Archos tablet 10.1 repair’ »
Tags:
board,
charger,
components,
electronic circuit,
housing,
internal,
modules,
open,
PCB,
repair,
schematic,
screw,
teardown,
unpack Category:
Android,
Archos 10.1 tablet |
7 Comments